I just gave my dining room a makeover! I felt like it had become a bit outdated and I wanted to bring the space more warmth and a trendy feel.
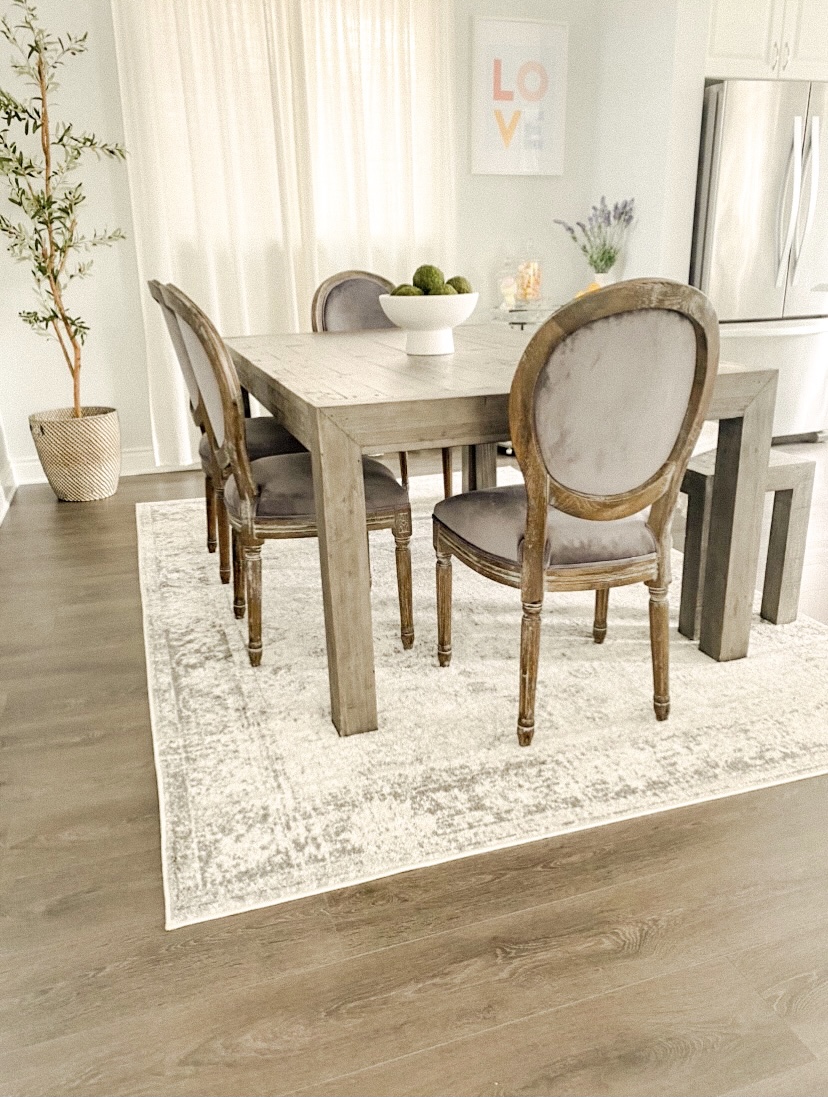
I don’t have a separate dining room but it is connected with my kitchen. So not only is it my dining room but it’s also breakfast, craft, and home office area. When decorating or designing a space, I always keep in mind that it must be kid-friendly. This dinning table is perfect when it comes to trendy pieces, not to mention it’s quite durable too which is great for when kids are around. This reclaimed wood table and bench are very easy to clean and the imperfect texture is ideal for what it goes through on the daily!
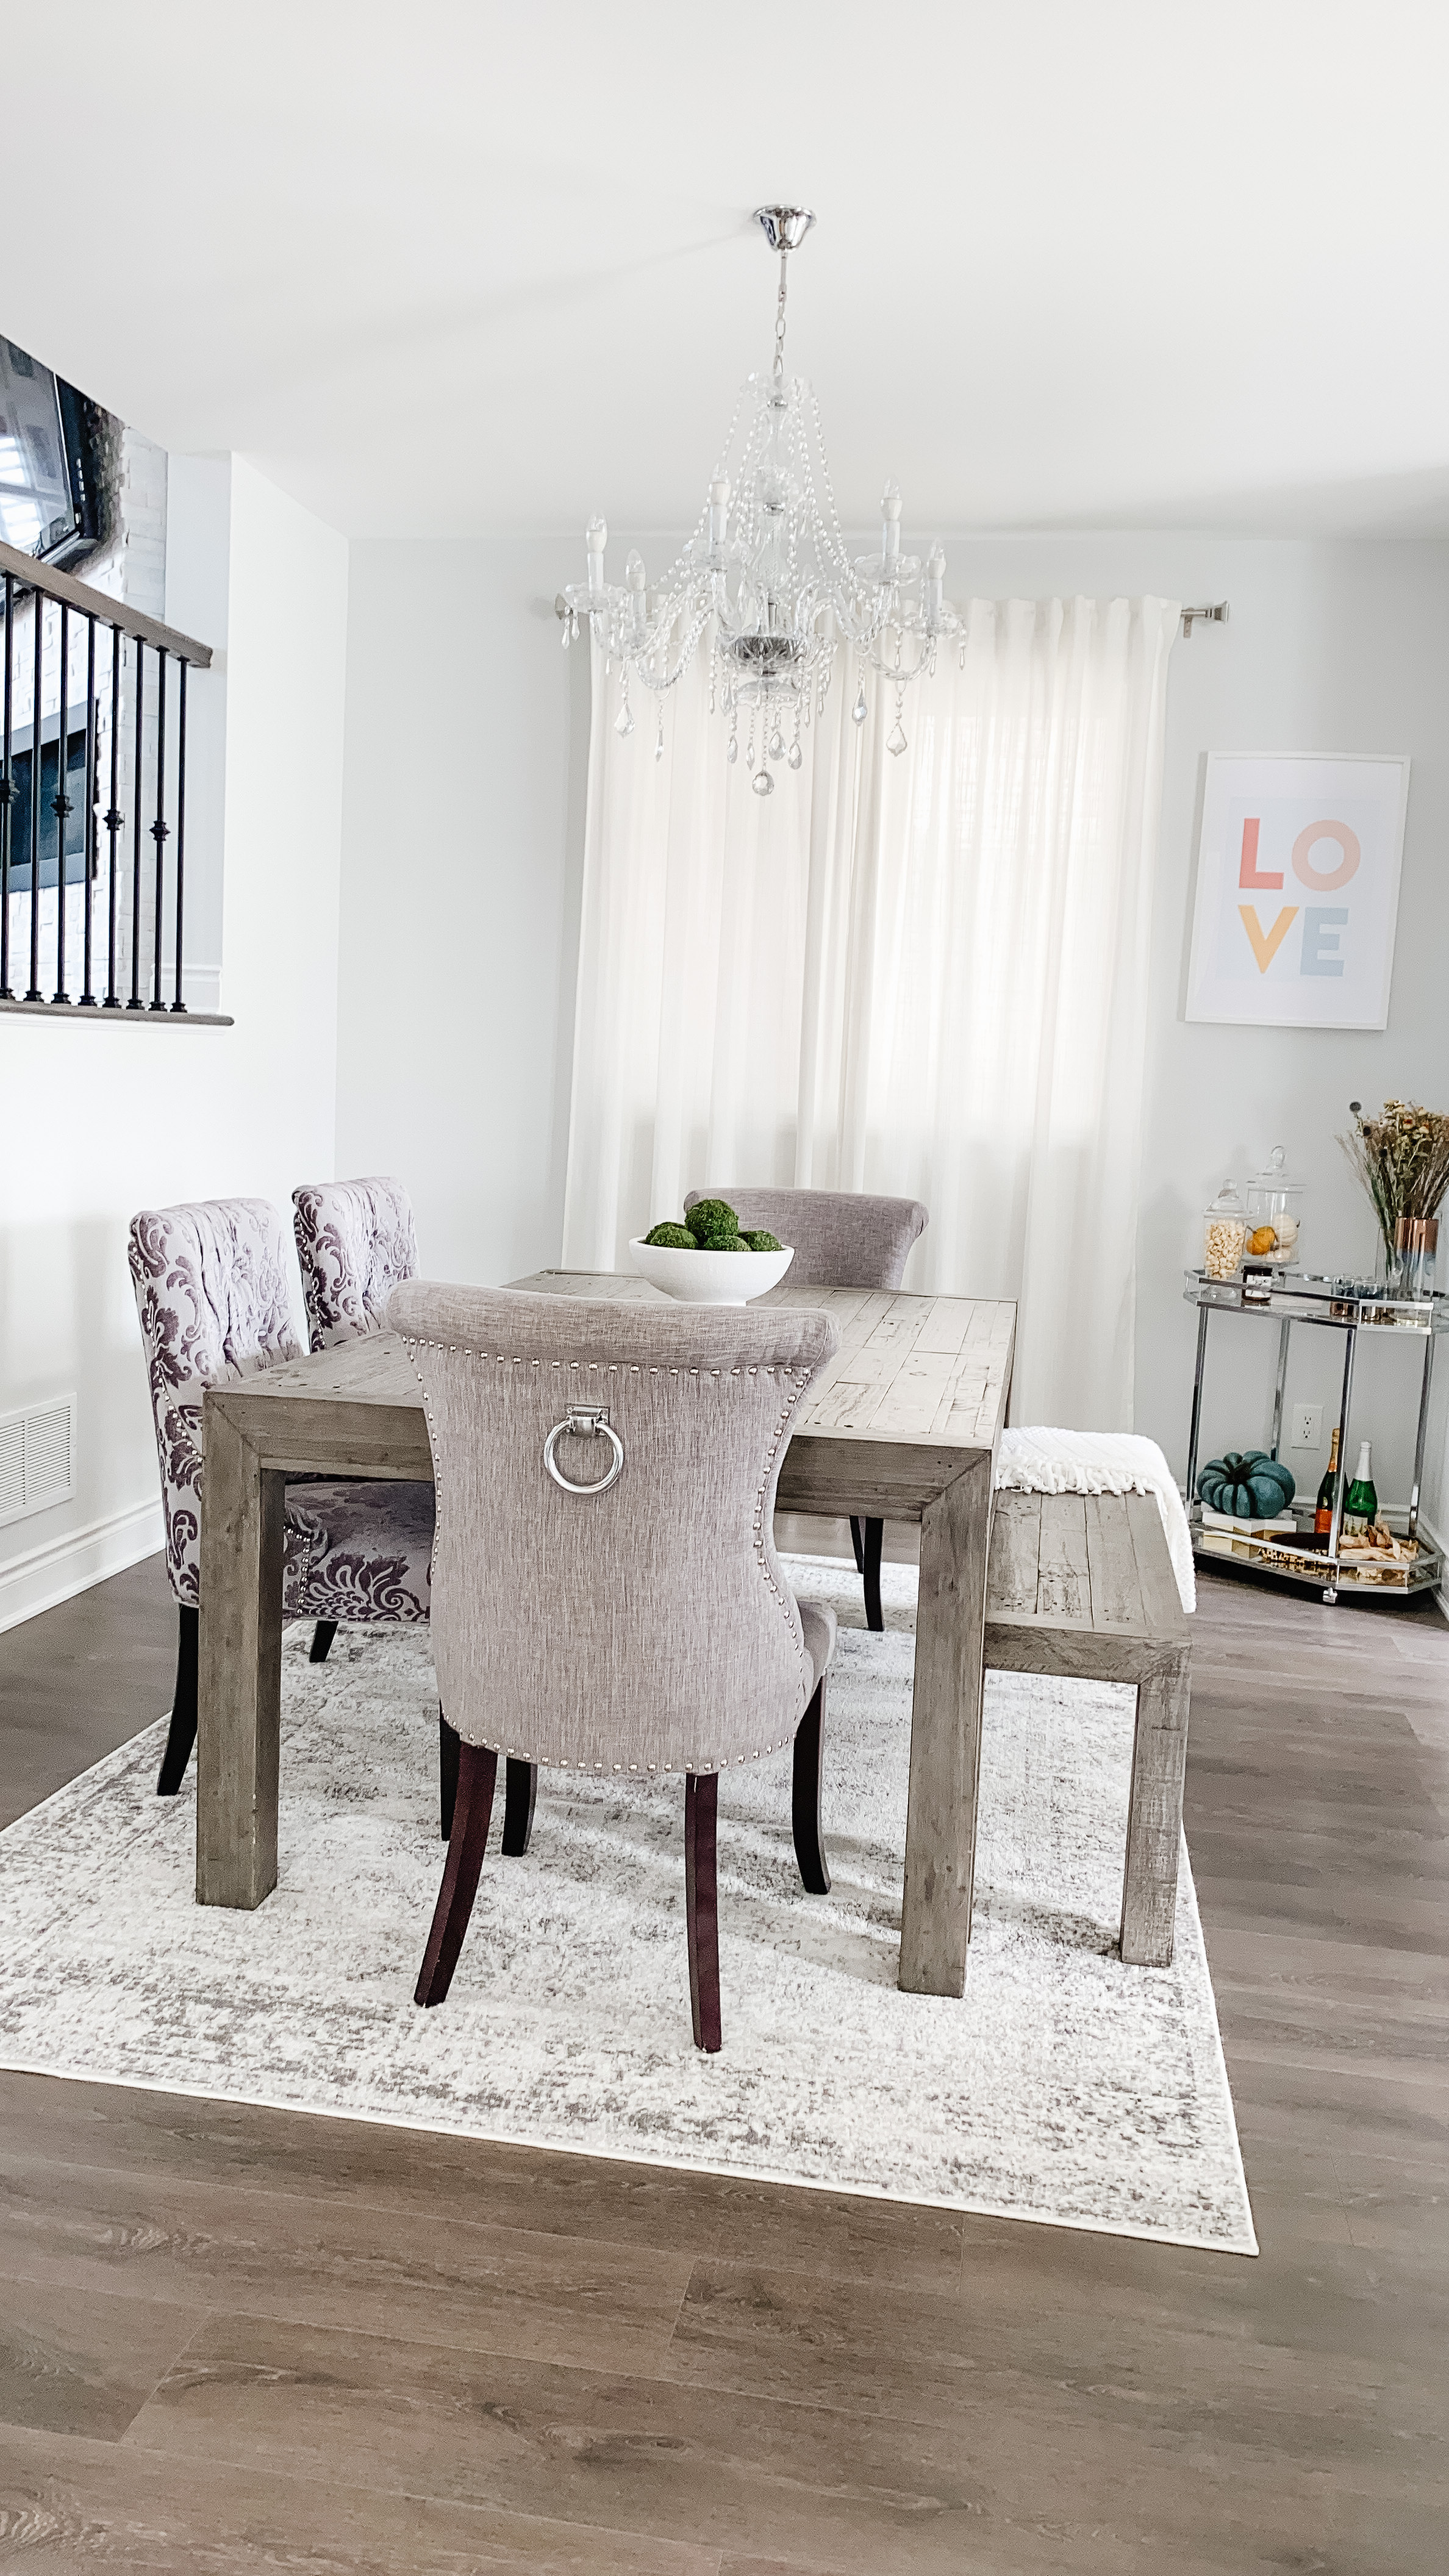

This room was so much fun to play around with. I wanted to give this room a vintage French feel with a modern touch. I swapped out my old fabric chairs to these Oak Wood chairs. These chairs have velvet fabric, which I find easy to clean spills than on the fabric chair.
I also added new light fixture. This has more of a vintage style compared to what I had previously. This light fixture brings an old, vintage feel yet also trendy.


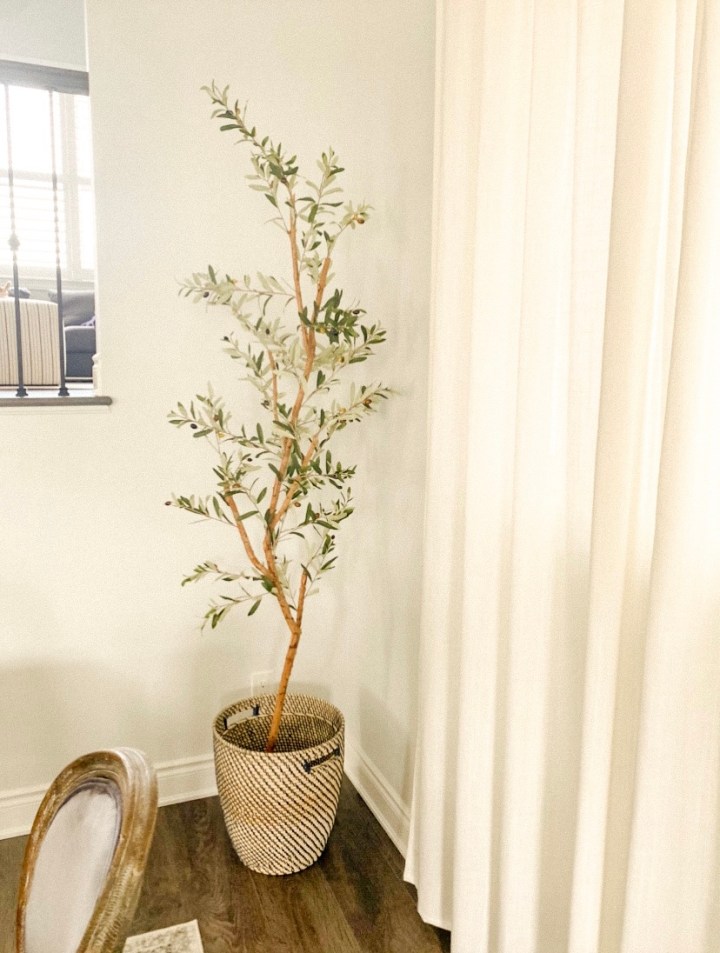
Lastly, I added an olive tree in the corner to add some colour, texture, and warmth to the space. I added touch of light grey with the 5’x7’ area rug and to make the space look bigger.
Well, there you have it! Hope you guys liked my makeover!